Prepping for a Residential EV Wall Connector Install
With the photos and detail below, we can provide you with a customized recommendation for your home and business needs.
In an effort to provide the most seamless installation experience possible, we need to gather as much of the information below as possible prior to scheduling your installation. We realize that most humans aren’t licensed electricians, so please reach out at any time with questions and we’ll help you through what we need.
Shooting the photos should take 10-15 minutes depending on your property layout with another 10 minutes or so for a simple diagram of your property. Please don’t worry about the diagram being dimensionally accurate technically accurate the primary need is to understand where things are located within your property, what’s connected to what and where you would like things installed.
If all you have is a sharpie and the side of a box, that works!

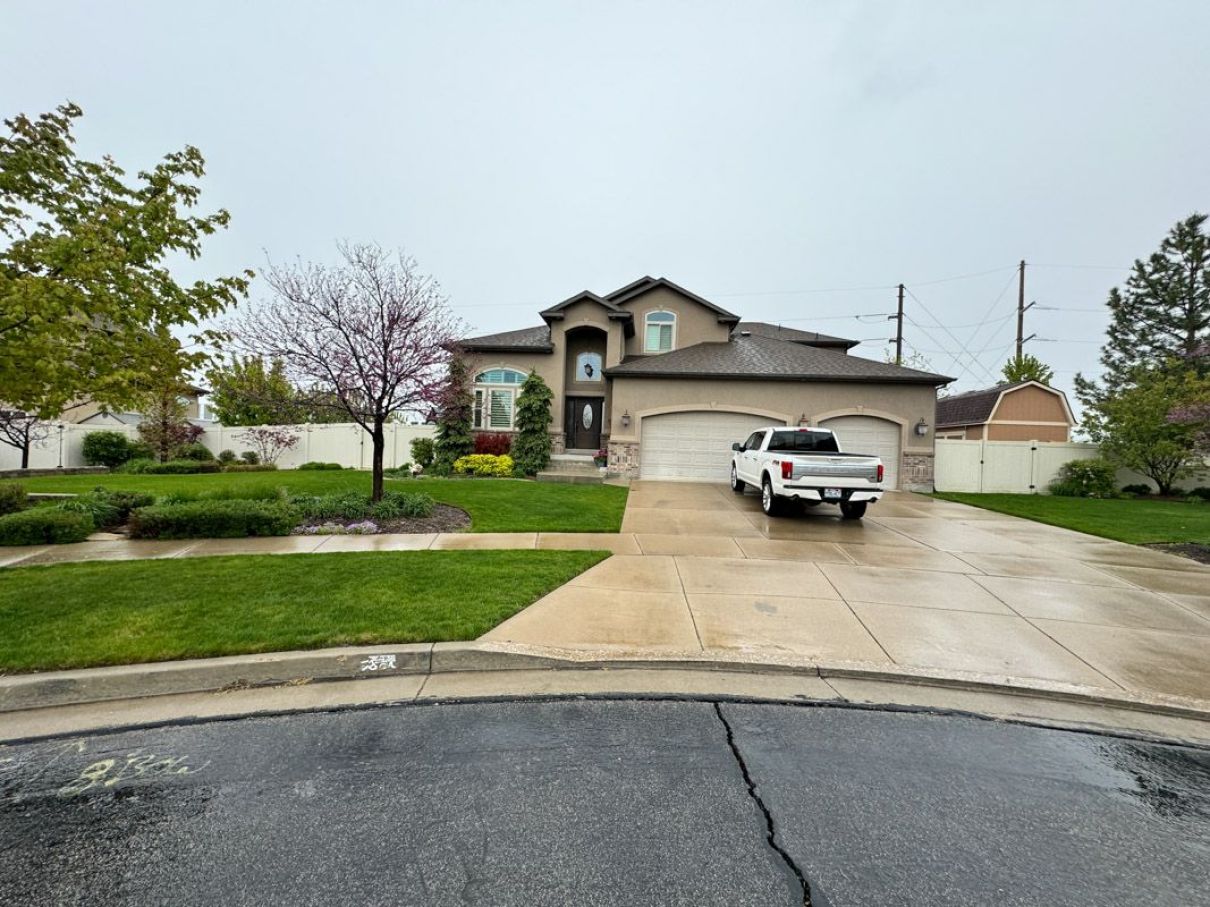
Photos of the Property: From the street to assist with understanding the layout of the property.

Utility Meter Close Up: Please locate your electric meter, which is likely on the side of your home or property. Take a close up photo showing the numbers on the front of the meter.

Utility Meter Full View: Straight towards the meter about 20 feet away. Try to show the space around the meter. Use the gutter line and the ground to square up the photo.

Service Entrance Circuit Breakers: Open the door of the service entrance panel (ie the panel next to your utility meter) and take a photo of the electrical panel interior. Please capture the whole panel so we can see the main breaker switches, ensuring all labels are legible. Be sure to take a photo of the panel label (usually on the inside of the panel cover). Please repeat the same process for each sub panel (if any).
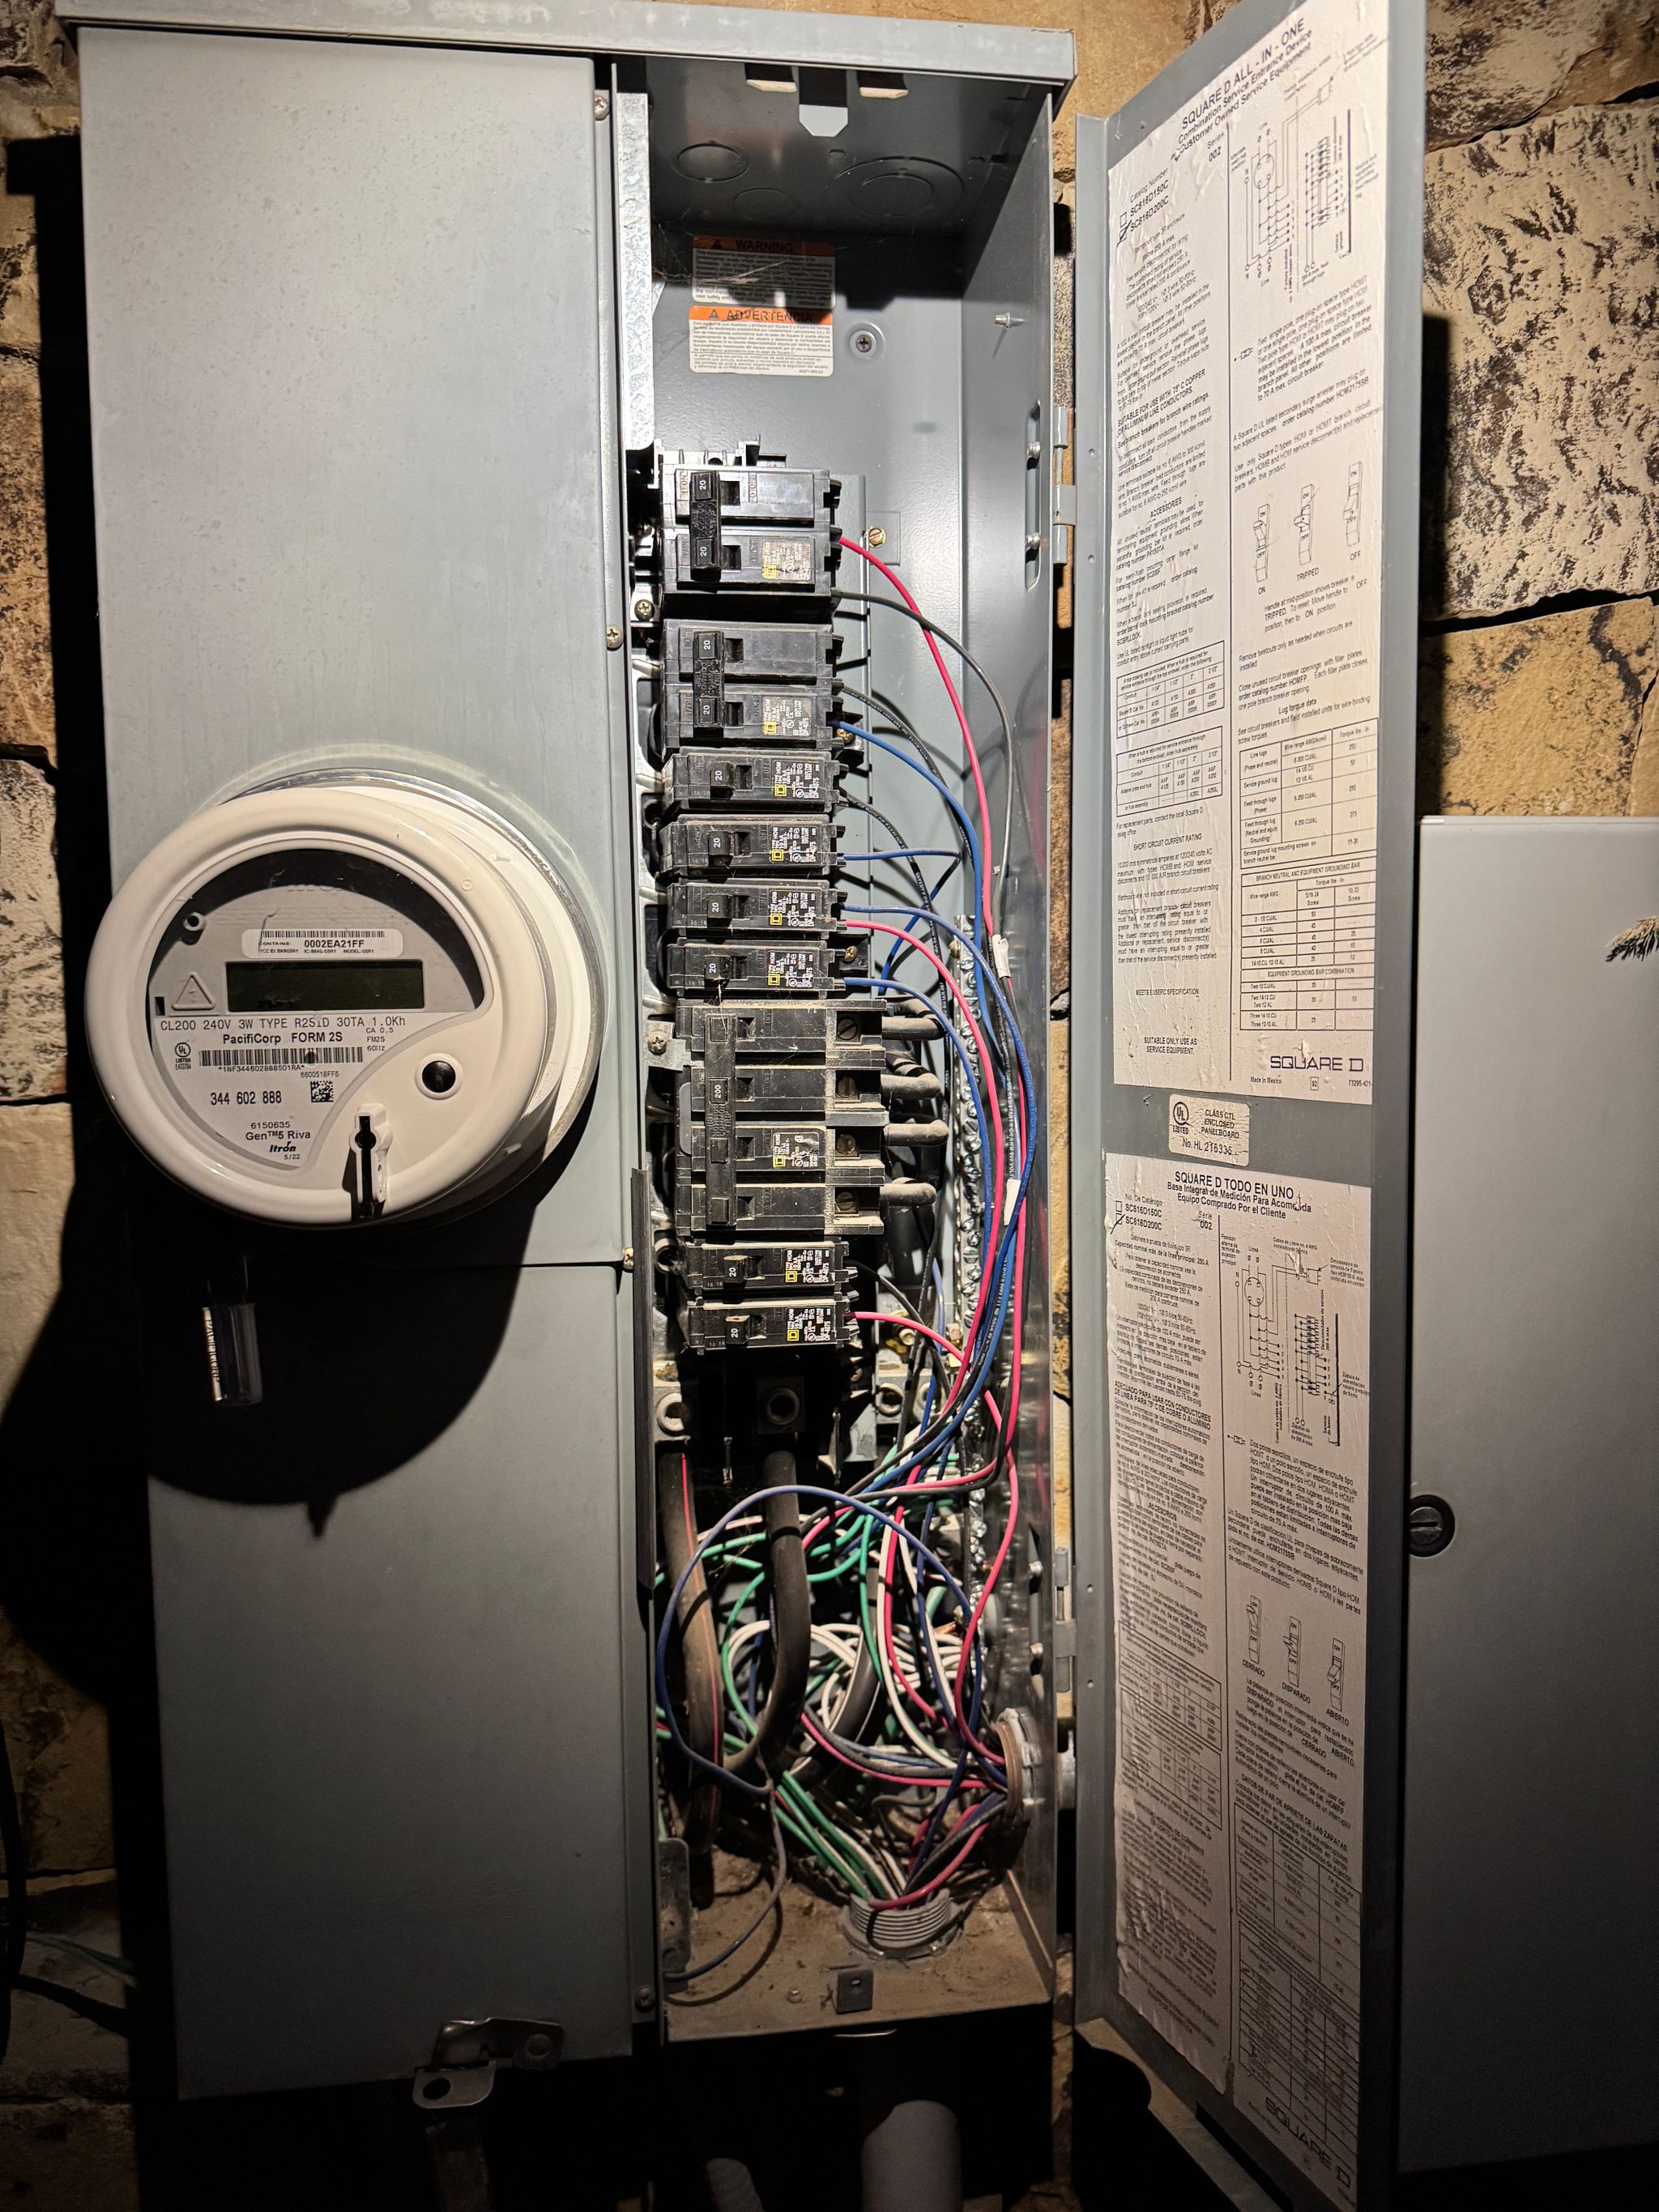
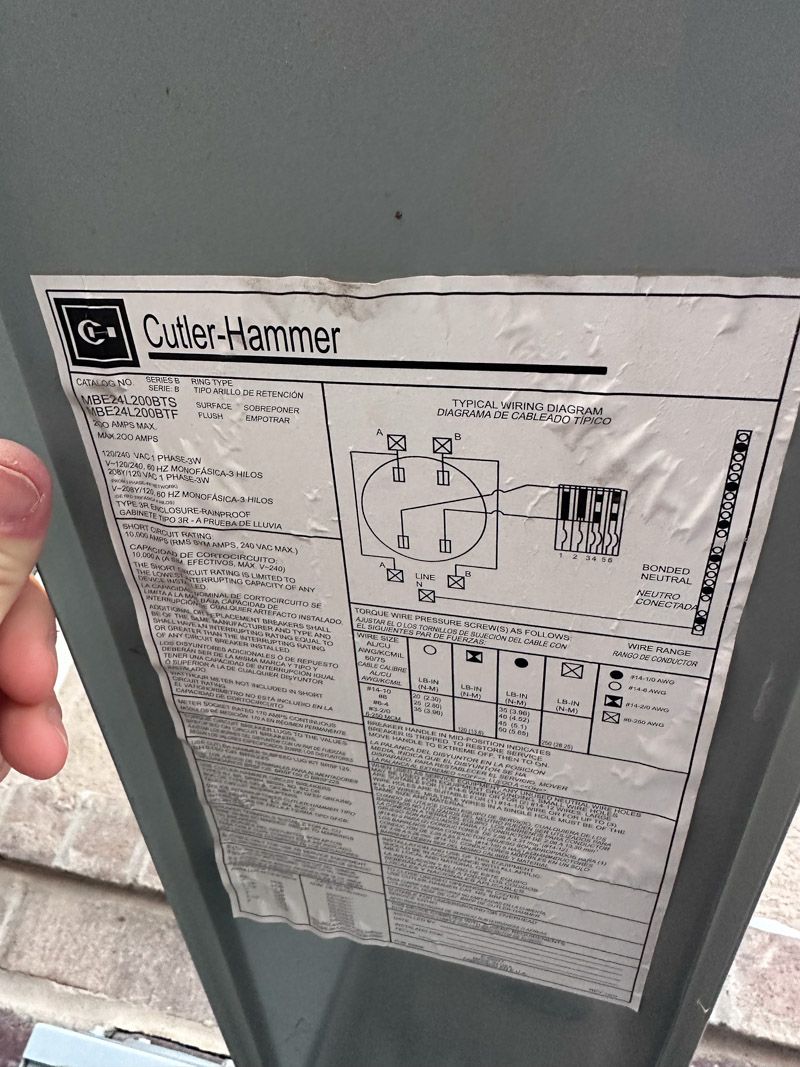
Service Entrance Cover Off: If you are comfortable doing so, please remove the cover (dead front) and take a photo showing the exposed circuit breakers and wires. This will tell us what type of connection we need to make and the size of the available wires.
This is one of the more important photos.

Sub Panel 1 Area: Take a photo of Sub Panel 1, standing about 15-20 feet away to show the surrounding area.

Sub Panel 1 Panel Label: Open the panel door and take a photo of the sub panel interior. Please capture the whole panel so we can see the breakers and the associated labels including the panel specifications, which are usually on the door. Please confirm that the label and circuit breaker designations are legible.

Sub Panel 1 Breakers: If you are comfortable turning off the power to the panel, please turn off the power and then remove the panel cover showing the wires and breakers. Please take a picture showing the full interior of the panel.

Additional Sub Panels: Please repeat the above process for any other panels.
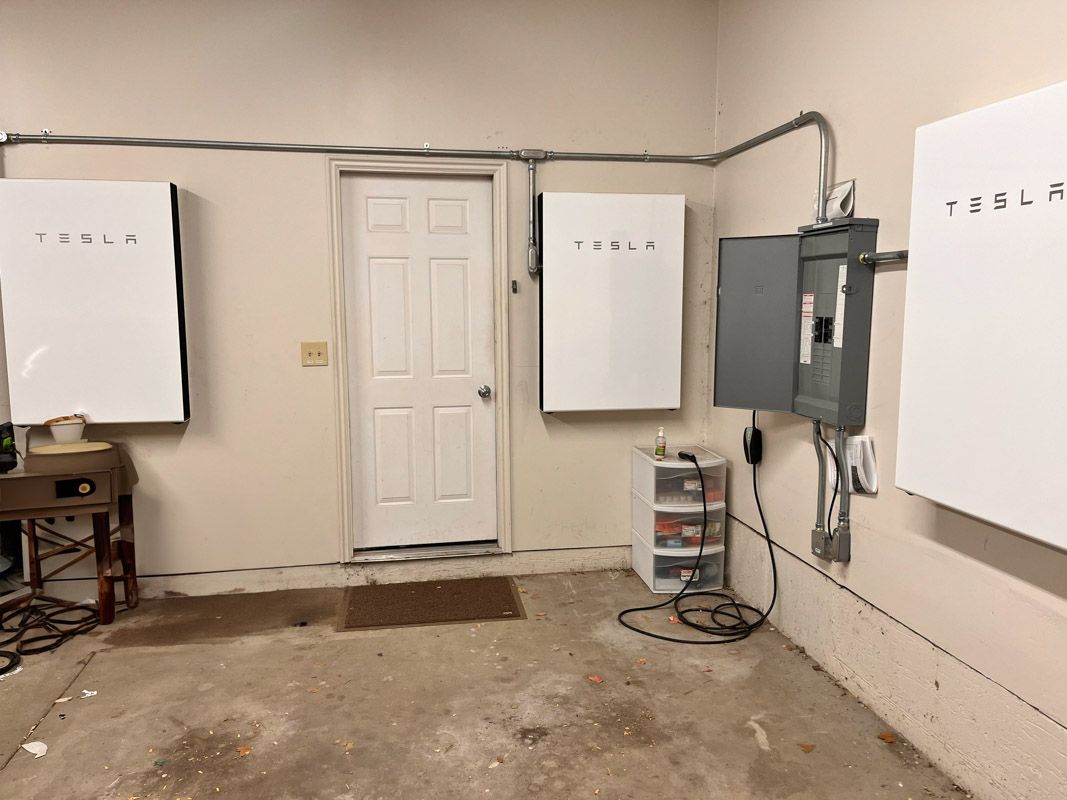
EV Charger Location: If you are comfortable turning off the power to the panel, please turn off the power and then remove the panel cover showing the wires and breakers. Please take a picture showing the full interior of the panel.
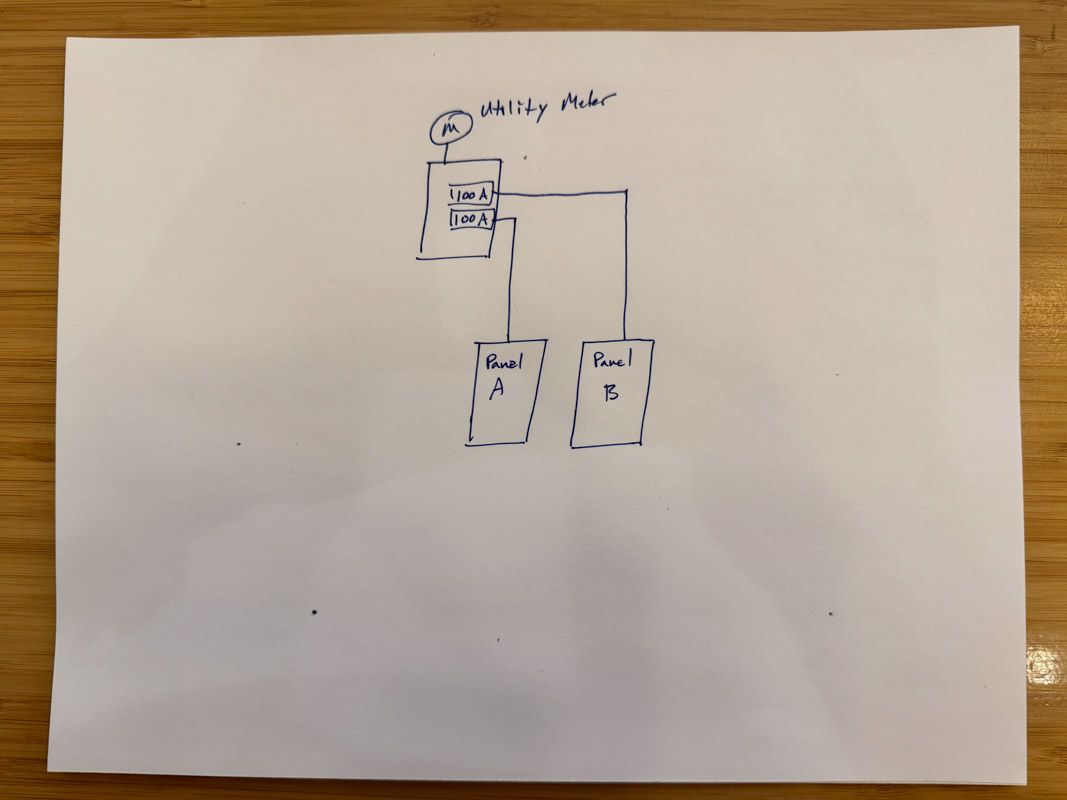
Property Electrical Diagram: Draw a simple sketch of the electrical panels in your property. Provide as much detail as you are comfortable with, but PLEASE don't worry about this being perfect. Just try to communicate the associated locations of the photos you've provided. When possible show the circuit breaker size on the drawing with a panel name.
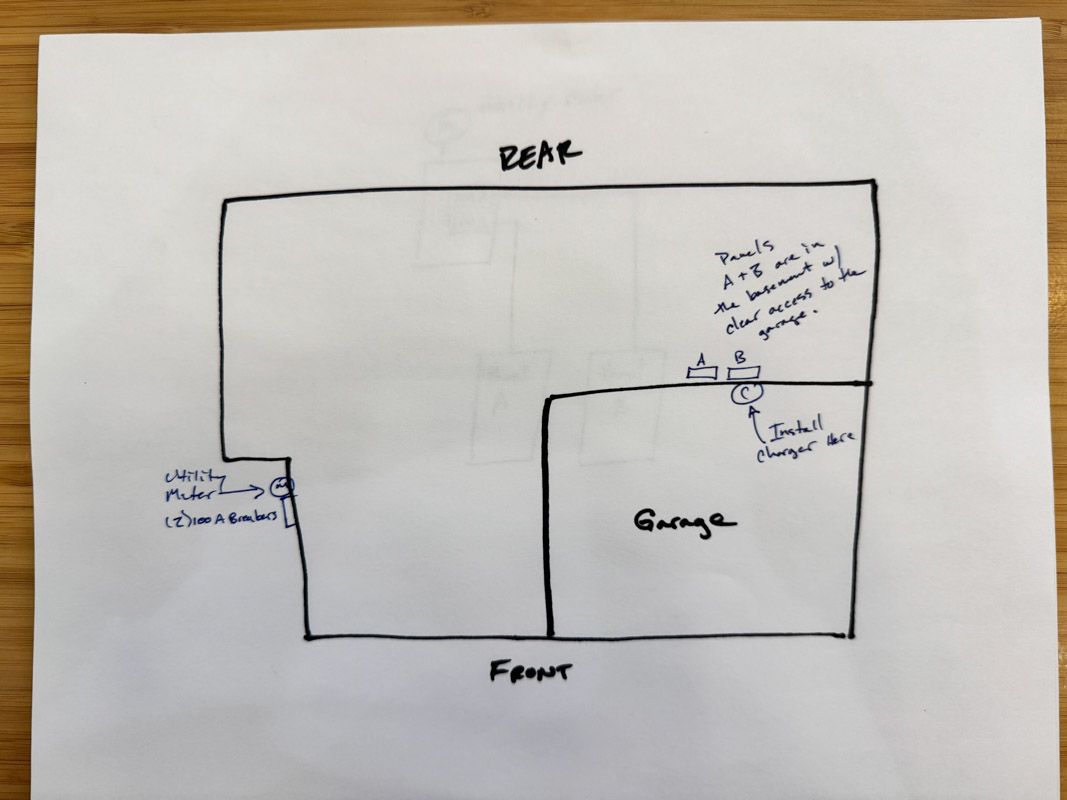
Property Site Plan: You're nearly there! If you happen to have a construction drawing of your property, please provide it here. If not, please provide a rough sketch showing your property and the associated equipment photos you've taken. Please label where you would like your charger installed.
With the photos and detail below, we can provide you with a customized recommendation for your home and business needs.
In an effort to provide the most seamless installation experience possible, we need to gather as much of the information below as possible prior to scheduling your installation. We realize that most humans aren’t licensed electricians, so please reach out at any time with questions and we’ll help you through what we need.
Taking the photos should take 10-15 minutes depending on your property layout with another 10 minutes or so for a simple diagram of your property. Please don’t worry about the diagram being dimensionally accurate technically accurate the primary need is to understand where things are located within your property, what’s connected to what and where you would like things installed.
If all you have is a sharpie and the side of a box, that works!
